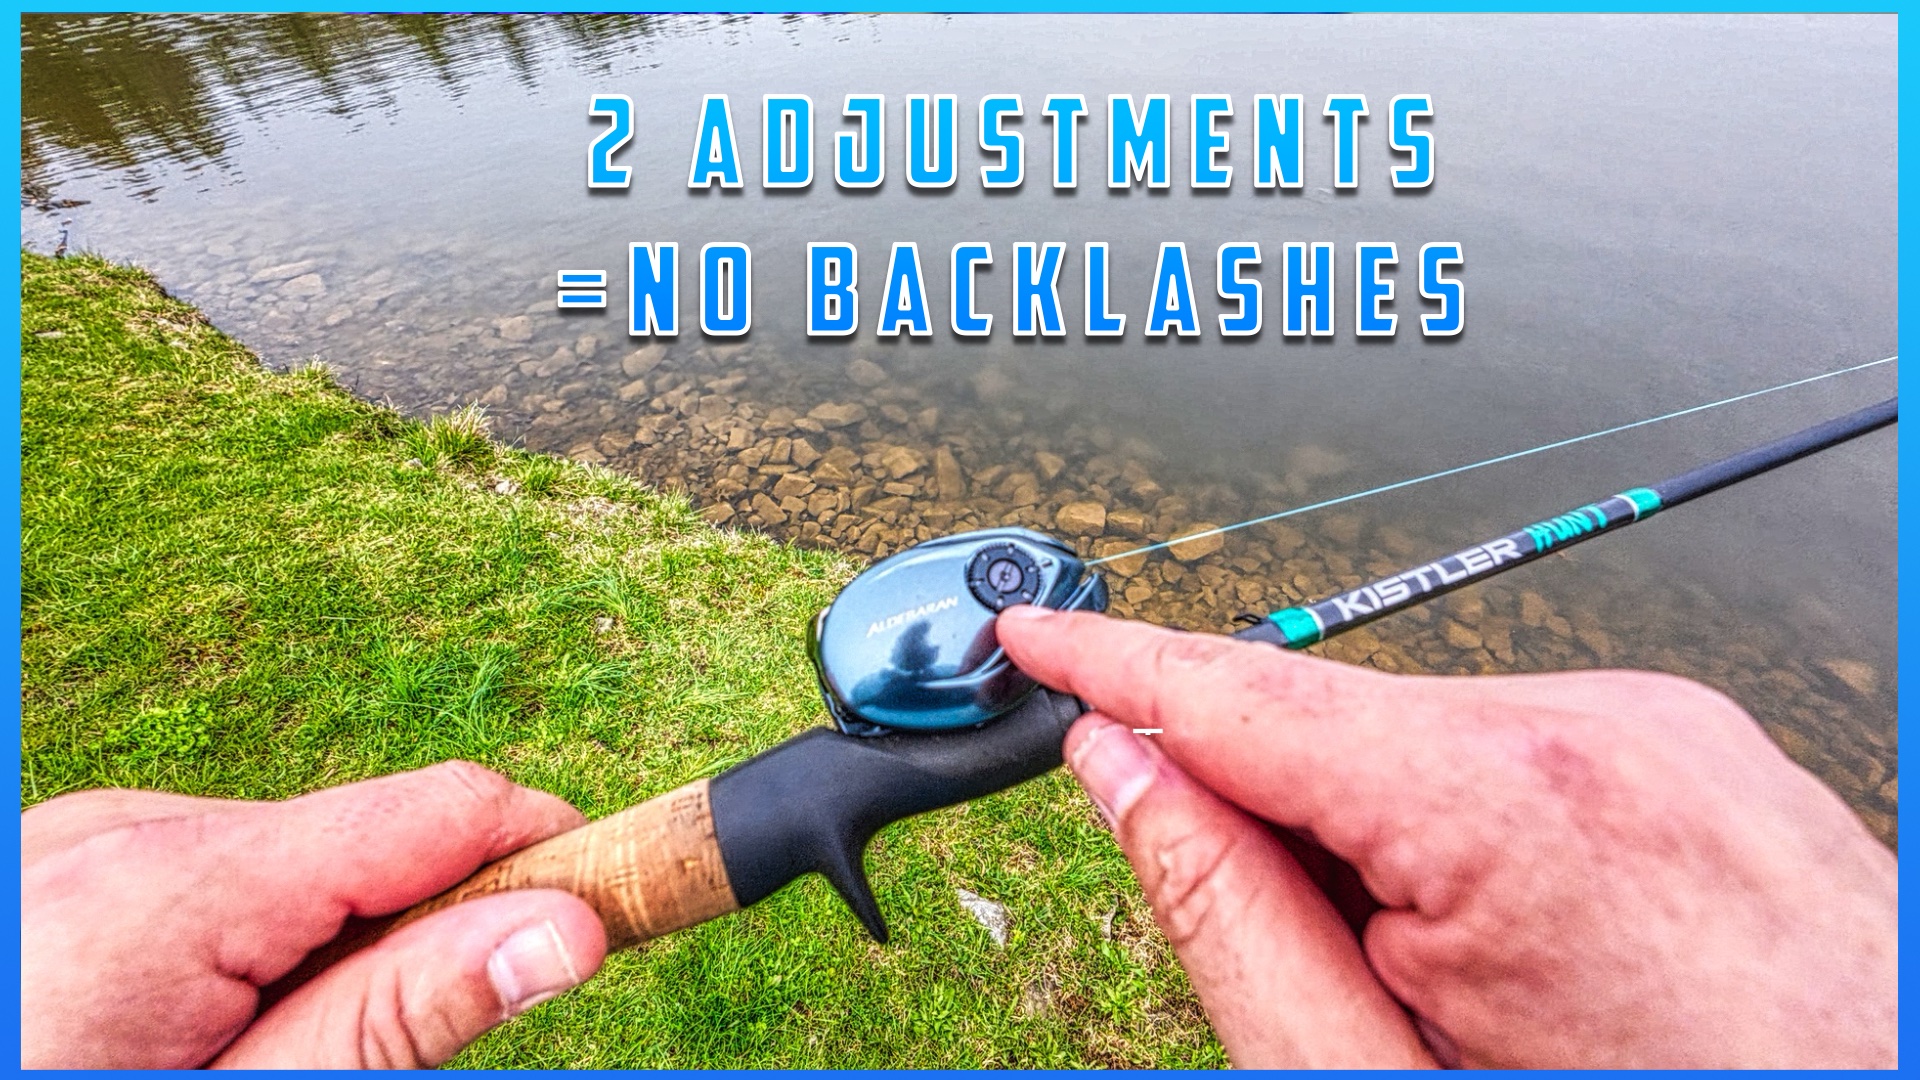
Perfect BFS Reel Adjustment: 2 Steps to Minimizing Backlashes
Ever felt like your Shimano Aldebaran just isn’t performing as it should? You’re not alone. This reel is popular, but it can be tricky to dial in. It is a dream once you get it running smoothly. Many anglers struggle with the initial setup, so let’s look at getting yours running smoothly. Consider this your quick guide to mastering your BFS reel adjustment and getting the most out of your Aldebaran.
And this method can be used to optimize any BFS reel adjustment, not just the Aldebaran.
The Basics of BFS Reel Adjustment
Affiliate Disclosure
This blog post contains affiliate links. If you click on one of these links and make a purchase, I may earn a small commission at no extra cost to you. These commissions help support the content I create, allowing me to continue bringing you expert fishing tips, gear reviews, and travel recommendations. I only recommend products and services that I personally use, trust, or believe will benefit my audience.
Thank you for your support!
Understanding the Aldebaran’s Unique Design
Before we dive into the adjustments, let’s quickly cover what makes the Aldebaran a little different. Two key features often trip people up: the Silent Tune system and the brake dial.
The Silent Tune System
Most reels let you adjust the spool tension by listening for that side-to-side rattle or clicking. You simply adjust the spool tension until that movement goes away. Not the Aldebaran. Thanks to Shimano’s Silent Tune system, you won’t hear that noise, no matter how loose the spool gets. This throws a lot of people off, but don’t worry, I’ll walk you through the right way to adjust it.
The Sensitive Brake Dial
The brake dial can be hard to move, but it’s incredibly sensitive. Small adjustments make a big difference in your casting distance and accuracy. You’ll quickly see how fine-tuning this dial is key to unlocking the reel’s potential.
Step-by-Step: Dialing in Your BFS Reel Adjustment
Okay, let’s get down to business. Here’s how I set up my Aldebaran for optimal performance:
Step 1: Adjusting Spool Tension
The goal here is to control how fast your lure falls. You want it to drop nicely, not too fast, and definitely not like a rock. If the spool tension is too loose, the lure will plummet, causing an overrun and, ultimately, a backlash.
To adjust it, tighten the spool tension knob until the lure falls at a controlled rate. You’re aiming for a slow, steady descent without the spool spinning wildly out of control. This adjustment is all about feel.
The spool tension adjustment is what controls overruns at the end of the cast. Overruns are the beginning of the dreaded bird’s nest. Nobody likes picking out a backlash when they could be fishing. So if you’re getting backlashes at the end of the cast, it’s probably the spool tension.
Step 2: Fine-Tuning the Brake Dial
I usually start with the brake dial set around 4 out of 6. Even tiny changes to this dial can have a huge impact. There’s always a trade-off between casting distance and thumb control. Lower brake settings give you more distance but require more thumb control to prevent backlashes.
The brake system typically prevents backashes in the middle of the cast. So if you happen to feel the line “fluffing up” a bit during the cast, you might need just a little more brake. And if you’re getting that bird’s nest mid-cast, you definitely need more braking power.
If you’re noticing your lure veering off to the left or losing distance, your brakes are probably too high. The fix? Reduce the brake setting in small increments until you find the sweet spot. As you get more comfortable, you can gradually decrease the brake setting for even greater distance, but be ready to use your thumb to feather the spool.
Here’s a video I made showing how I use these two steps to get all my reels dialed in:
Getting Your Line Capacity Just Right
Line capacity matters. Too much or too little line can affect your casting distance and overall reel performance. For the HG (High Gear) model, I recommend around 80 turns of line.
Here’s a simple way to calculate it: The HG model has an average inches-per-turn (IPT) of 24 inches. If you put on 150 yards of line, that’s 1,800 inches. Divide 1,800 by 24, and you get 75 turns. Add a little extra, say 10%, and you’re right around that 80-turn mark.
Troubleshooting Common Issues
Let’s tackle some common problems you might encounter.
Brakes Set Too High
If your lure is consistently veering to the left or you’re losing casting distance, your brakes are likely set too high. This means the reel is applying too much braking force, hindering your cast.
Balancing Distance and Control
Finding the right balance between distance and control is crucial. Don’t be afraid to experiment with both the spool tension and brake dial to find what works best for you. Remember, as you loosen the settings for more distance, you’ll need to rely more on your thumb to control the spool.
Tips for Taming Those Pesky Backlashes
Backlashes are every angler’s nightmare. Here’s how to minimize them:
Prioritize Control Over Distance
It’s better to sacrifice a bit of distance to avoid backlashes. Spending more time fishing and less time untangling line is always a win.
Set Up for Forgiveness
Aim to set up your reel so it’s forgiving, even when you’re not laser-focused on every cast. A slightly tighter spool tension or a slightly higher brake setting can make a big difference. I think that’s the key to effective BFS reel adjustment.
More Bait Finesse Resources
If you are using a BFS setup and want to learn more, check out my breakdown on different BFS reel setups in this guide: BFS for Bass Fishing – The Best Bait Finesse Info. This will walk you through brake and tension tuning, plus some extra tips for dialing in lightweight gear.
Here’s the link to the rod I used in the video, the Kistler Hunt BFS: Hunt BFS Fishing Rods. It’s my signature rod that I designed from scratch for bait finesse style fishing.
Also, I made a video back in 2022 when I was still trying to figure out the Aldebaran: https://youtu.be/04LjPUpKCvs?si=dl35KS-4Lo_211zs
If you are looking for the best BFS reels, then make sure you check out my article on Unveiling the Best BFS Reels: My $3289 Journey.
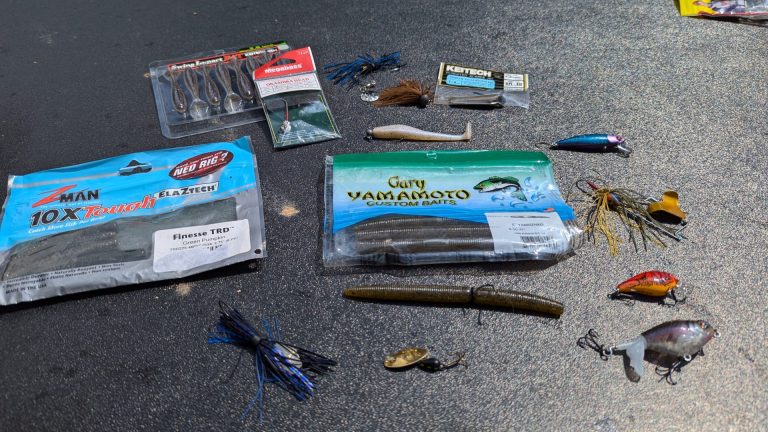
Lastly, it is important to make sure you are using the right lures in your BFS reel setup so you can be successful. Check out my article 9 Essential BFS Lures for Every Tackle Box.
Final Thoughts
Mastering your BFS reel adjustment on the Shimano Aldebaran doesn’t have to be a headache. With a little patience and these adjustments, you’ll be casting like a pro in no time.
Got any Aldebaran setup tips of your own? Drop a comment below! Don’t worry—sometimes the best fish still bite while you’re cleaning up a backlash.
Here’s a tip: You can get the Aldebaran from Amazon for around $150 less than places like Tackle Warehouse.